
The Bulk Upload Document tool allows firms to add documents to claims in mass. The following tutorial will briefly describe the steps in downloading a Microsoft Access template in order to begin uploading documents. Click on any image to enlarge it.
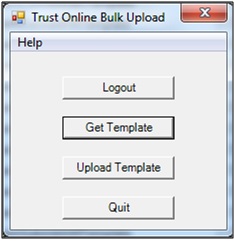
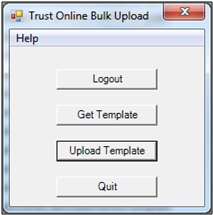
1) To begin uploading documents to existing claims, first log into the Bulk Upload tool and click on the Get Template button.
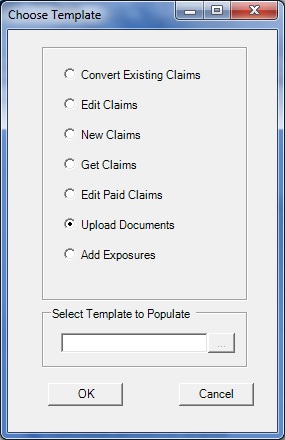
2) The “Choose Template” box will appear with a list of templates that are available for downloading. Click on the “Upload Documents” template to download it.
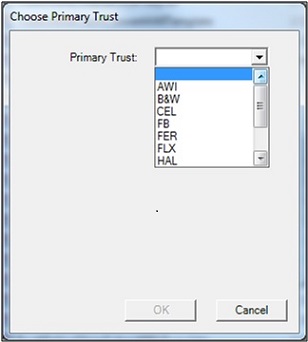
3) The “Choose Primary Trust” box will appear with a drop-down of Trust that the user has access too. Select the Trust for the new claims submissions.
4) After selecting the Trust and clicking the OK button. A “Save BulkUpload Template” box will appear prompting the user to save the new template. At this point the user may rename the file or leave the default name and select the directory where the new template will be stored.

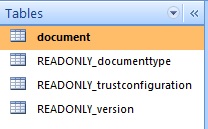
5) After downloading the new template, double click on the file to open it. Find the tables located in the Tables view of the Access database and open the document table to begin entering data. The document table is the only table in this template that must be populated.
6) To upload documents to claims, all you will need is the claim number which is the first field in the document table. You may enter multiple documents for each claim by just simply adding a new record and entering the same claim number in the next row.

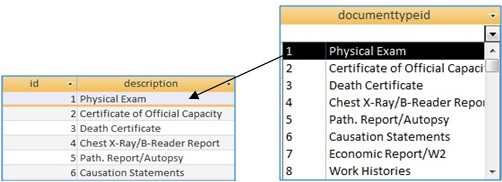
7) As you may have noticed in the examples above, there is a READONLY_documenttype table that is used by the document table. Notice that in the documenttypeid field above, 1 was selected to specify the document type Physical Exam.
8) After entering all of the documents for each claim, close the template. Log back into the Bulk Upload Tool and click on the Upload Template Button.
9) The “Upload BulkUpload Database” box will open, prompting the user to select the “Upload Documents” template. After selecting the correct template, click “Open” to begin conversion process.
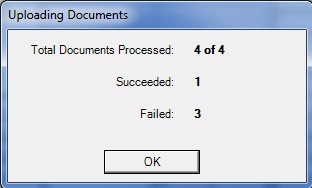
10) The “Uploading Documents” box will display the total number of documents the user is attempting to add. The next two fields display the number of documents that were successful and the number of documents that failed.
For the failed documents, open the template and the document table for information on why the document uploads failed. On each documents record, you will see the following fields. After correcting the failed uploads, log back into the Bulk Upload tool and re-upload the upload documents template with the corrections.

You have completed the Bulk Upload Documents Tutorial. We hope that the lesson was informative and helpful. If you would like additional assistance, please contact the Trust at (866) 665-5790. For a printer friendly version of this tutorial click on the link below.
Bulk Upload Documents – Tutorial
BACK TO TUTORIALS